
How to Convert and Clean Up iPhone Photos Before Sharing Online
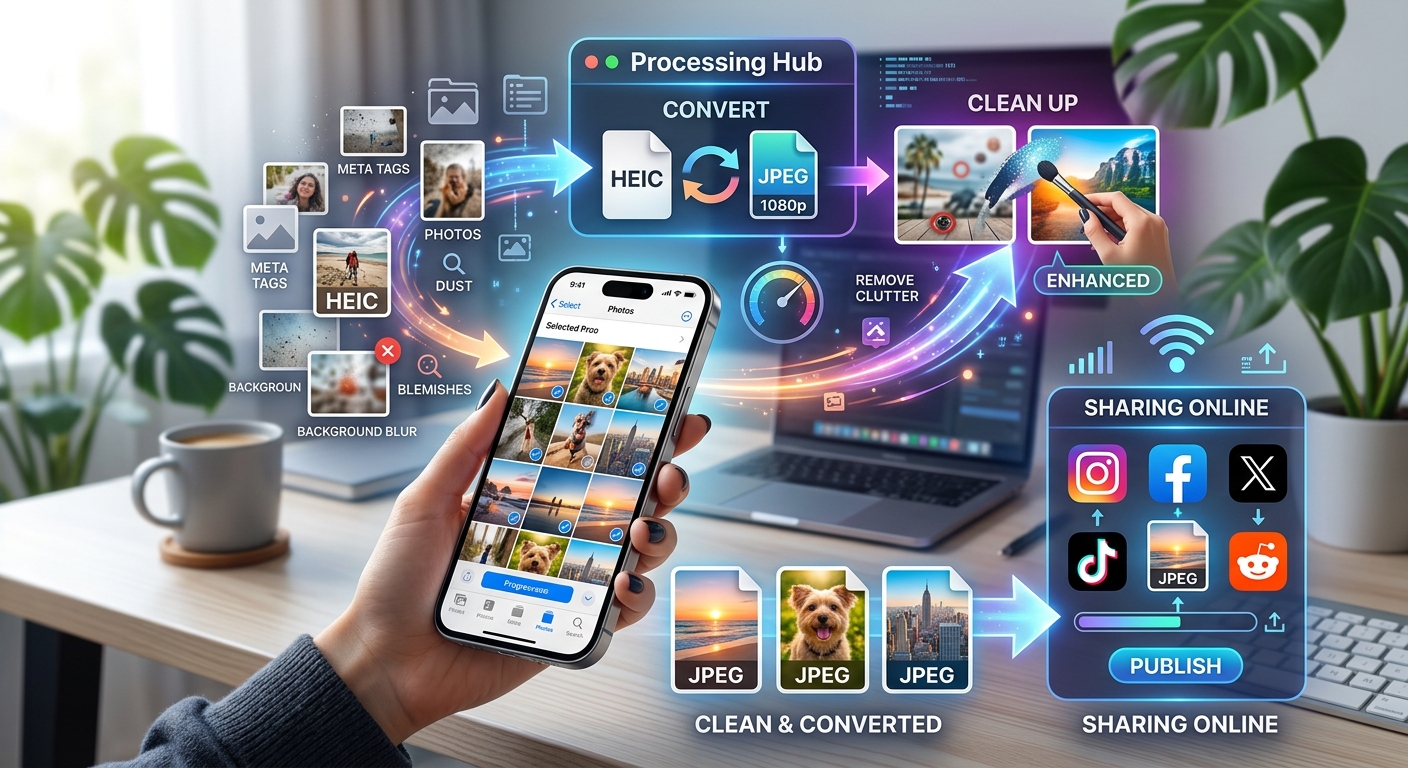
You take a photo on your iPhone and it looks sharp on screen. Colors are right, the subject is in focus, the lighting held up. Then you try to upload it to a form, send it to a colleague on Windows, or post it to a platform with specific format rules, and the whole thing falls apart with an error message. This happens constantly to iPhone users, and it almost always comes down to one thing: the file format your phone chose when it saved the photo.
The Short Version: Three Steps Take an iPhone Photo from Camera Roll to Shareable
- iPhones save photos as HEIC by default, a format most non-Apple systems refuse to open.
- Converting to JPG or PNG is free, takes seconds in a browser, and requires no software install.
- A short cleanup pass, covering crop, resize, and background cleanup, makes the image genuinely worth posting.
Why Your iPhone Photos Get Rejected Outside Apple's World
Apple introduced HEIC as the default photo format with iOS 11 in 2017. The idea was efficiency. A HEIC photo takes up roughly half the storage of a comparable JPG while keeping more visual detail. On an iPhone, this works perfectly. You get more photos on less storage, and everything looks great inside the Photos app. AirDrop it to a Mac and it opens instantly. The experience is seamless within Apple's ecosystem.
The problem is that most of the world does not run on Apple. HEIC is Apple's implementation of HEIF, an image container format finalized by the Moving Picture Experts Group in 2015. Despite being nearly a decade old now, broad support outside Apple has been slow to arrive. Windows can open HEIC files in some contexts, but only with a specific codec installed, and many apps still handle it inconsistently. Web upload forms almost universally expect JPG or PNG. Many social platforms either reject HEIC outright or silently recompress it in ways that damage quality. Government portals, job application sites, and document submission systems were built around formats that predate HEIC by decades.
The result is a gap that catches people off guard. Your phone is doing exactly what it was designed to do. The platforms you are trying to reach are also doing what they were designed to do. They just were not designed to understand each other, and HEIC is what falls through the cracks every time.
JPG, PNG, and HEIC: Choosing the Right Format for the Job
Converting a HEIC file is easy. Knowing what to convert it to makes the result more useful. Each format has a different strength, and picking the right one depends on what you plan to do with the image once it leaves your phone.
JPG is the most compatible image format in existence. Nearly every platform, operating system, app, and device can open a JPG without any extra software or plugins. The format uses lossy compression, meaning it discards a small amount of image data to keep file sizes manageable. For photos of people, places, food, or events, the quality difference is barely visible at normal screen sizes. JPG is the safe default for anything going online or into someone's inbox.
PNG uses lossless compression, which means every pixel is preserved exactly as captured. Files are larger, but nothing is lost in the process. PNG earns its place when images contain text, sharp lines, or transparent backgrounds. Screenshots, product images with logos, and anything that will be placed over a design typically look better as PNG. For a standard photo from your camera roll, though, PNG is usually larger than it needs to be.
HEIC beats both on storage efficiency and holds up well on image quality. The catch is compatibility. It is the right format for keeping photos on your phone. For almost everything else, it creates more friction than it is worth.
HEIC, JPG, and PNG Compared by Use Case
| Format | File Size | Quality | Compatibility | Best For |
|---|---|---|---|---|
| HEIC | Small | Excellent | Apple devices only | Storing photos on iPhone or iPad |
| JPG | Small to medium | Very good | Universal | Sharing photos anywhere online or offline |
| PNG | Large | Perfect | Widely supported | Screenshots, logos, images with text or transparency |
For most everyday sharing, JPG is the answer. PNG earns its place when the image has sharp edges, transparency, or visible text baked into it. Either way, getting out of HEIC is almost always the right first move, and the fastest way to do it involves no software download at all.
How to Convert Your iPhone Photos Without Downloading Anything
Browser-based conversion tools are the fastest path. You upload a HEIC file, select JPG or PNG as the output format, and download the converted image in seconds. Nothing installs on your computer. The file does not sit on a server indefinitely. You get the converted image and move on with your day.
For single photos, this approach is hard to beat. For batches, many browser tools allow you to convert multiple files at once, which saves real time when you are preparing a series of images for a blog post, a job application, or a client presentation. Look for tools that offer a quality slider on JPG output. A setting around 80 to 85 percent typically gives you a file that is visually indistinguishable from the original while being considerably smaller than a full-quality export.
If you want to change the format at the point of capture, iPhone settings give you that option too. Open Settings, tap Camera, then tap Formats. Two choices appear: High Efficiency saves new photos as HEIC, and Most Compatible saves them as JPG. Switching to Most Compatible means every new photo skips the conversion step entirely. Files will be slightly larger on your phone, but they will open anywhere without extra steps. For people who regularly share photos with Windows users or upload to web platforms, this single setting change removes a persistent frustration at its source.
Photos already on your camera roll in HEIC format still need converting individually or in batches. The browser tool handles those in the same way, regardless of when they were taken.
Cleaning Up Your Photo Before You Post It Anywhere
Converting the format is the technical fix. Getting the image ready to post is the creative one. Most photos taken in the moment benefit from at least a few small edits before they go anywhere public. These edits take very little time once you know which ones actually matter.
Cropping is the single most effective improvement you can make to a casual photo. Camera phones take wide shots. Real subjects often appear smaller than they should. A tight crop removes excess background, centers the subject, and gives the image a more intentional feel. It also reduces file size slightly, which helps with upload limits on stricter platforms. A photo that has been thoughtfully cropped reads as considered rather than grabbed in a hurry.
Resizing is the next step for most sharing contexts. iPhone photos can be four or five megabytes at full resolution. Some upload systems reject anything above a certain size. Even when they do not, an unnecessarily large file slows down page loads and eats into storage quotas faster than you might expect. Resizing to the destination platform's recommended dimensions keeps uploads fast and avoids the kind of automatic compression that some platforms apply in the background and often apply badly.
Background clutter is the last thing to handle, and it used to require either advanced software or a very patient friend with Photoshop skills. A stranger who walked into the frame, a rubbish bin in the corner, a distracting sign in the background, any of these can undermine an otherwise good shot. Now a magic eraser handles this step directly in the browser. You paint over the object you want removed, and the tool clears it cleanly from the image. The result looks natural rather than patched. It works on JPG and PNG files, making it a direct next step right after you finish converting, before anything goes live.
None of these steps require design experience. Crop until the subject fills the frame in a way that feels balanced. Resize to match the upload destination. Remove anything in the background that your eye keeps snagging on. Three small decisions, and the photo looks like something you actually meant to post.
Getting Every Shot from Your Camera Roll to Where It Needs to Go
The distance between a great iPhone photo and a file that works everywhere online is shorter than it looks. HEIC is the main obstacle, and a browser-based conversion tool clears it in seconds. Once you have a JPG or PNG in hand, the file opens everywhere, attaches to emails without prompting questions, and uploads to forms that would have turned it away in its original format.
The cleanup steps, cropping, resizing, and removing background distractions, are optional but add real value. A photo that has been given two minutes of attention looks different from one that went straight from camera roll to upload button. It reads as purposeful rather than accidental. For anything that represents you or your work publicly, that difference is worth the time.
Your phone's camera does its job well. The format it defaults to is an internal storage choice, not a sharing choice. Treating conversion as a routine step, and adding a short cleanup pass when the photo calls for it, is what turns a good shot into one that holds up wherever it needs to land.