
How to Convert iPhone HEIC Photos for Uploads and Text Extraction
Fix rejected iPhone photos by converting HEIC to JPG or PNG. Learn upload fixes, text extraction tips, and safer ways to handle private documents.
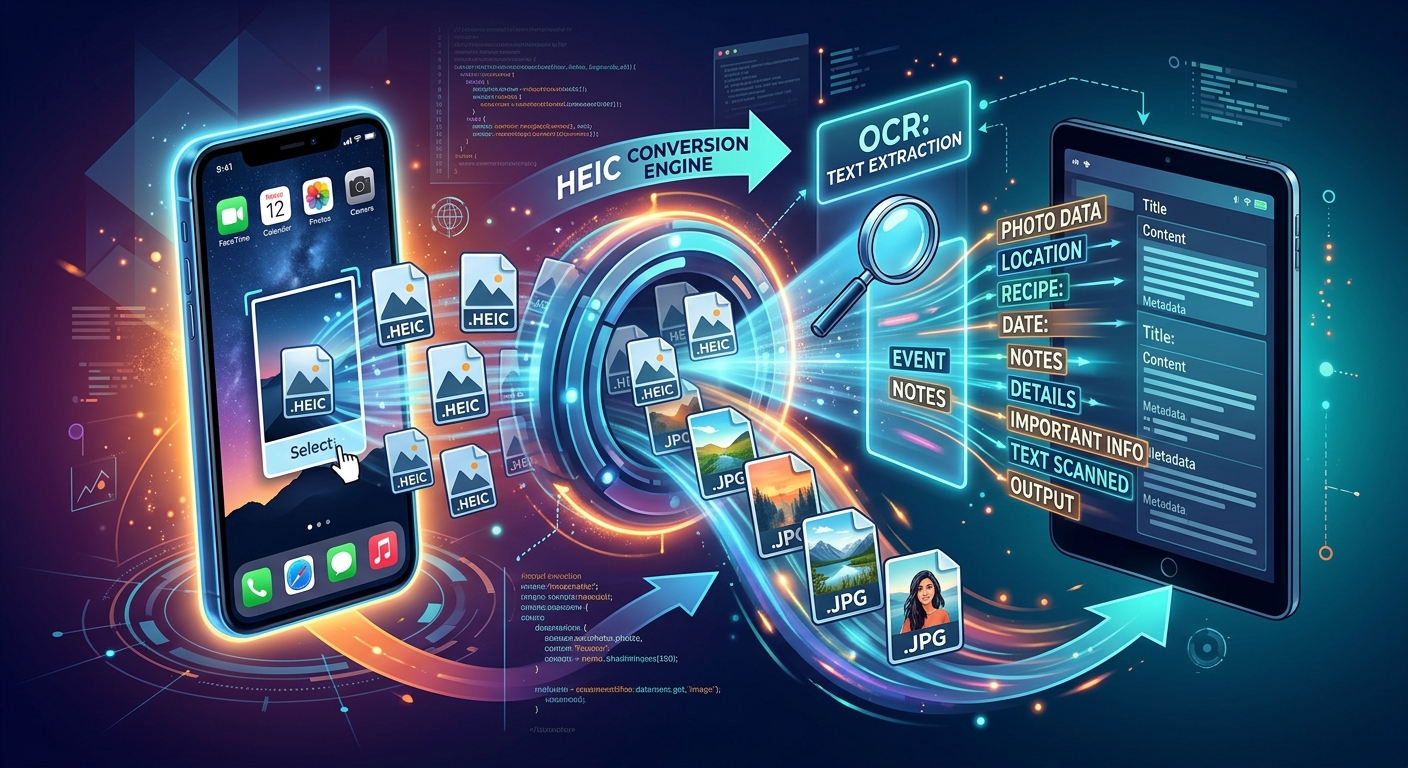
Your iPhone photo looks perfect until a website refuses to accept it. A receipt will not attach to an expense claim. A photographed form will not open in a Windows app. The file is right there, but the upload button seems to disagree. Often, the problem is its HEIC format. Converting a copy to JPG or PNG can get you past that rejection and make the image easier to use for text extraction.
Your Format Fix at a Glance
- Choose JPG for everyday photos and most upload forms.
- Choose PNG when accepted and preserving fine text detail matters.
- Convert the image itself instead of changing its filename extension.
- Check supported formats before sending a document photo for text extraction.
- Keep originals and review privacy settings before uploading sensitive files.
Why Your iPhone Photo Gets Rejected
HEIC is a file format commonly used for iPhone photos. It stores images efficiently, helping your photo library take up less space. The catch is compatibility. Some websites and desktop programs cannot read these files, even when your phone displays them without trouble.
A website may accept only a narrow set of formats. Its upload instructions might name JPG, JPEG, and PNG. If HEIC is absent, conversion is a sensible first step.
JPG and JPEG refer to the same image format. A form requesting a JPEG image will usually accept a file ending in .jpg, though you should follow any explicit filename requirements.
File size is a separate issue. A supported JPG can still fail if it exceeds the upload limit. Read the error message before changing anything. “Unsupported format” points toward conversion. “File too large” points toward compression or smaller dimensions.
Choose JPG or PNG Based on the Job
For ordinary photographs, JPG is usually the practical choice. It offers broad compatibility and manageable file sizes. That makes it useful for profile pictures, product photos, expense receipts, and attachments.
PNG uses lossless compression, meaning that saving the image in this format does not discard more image detail through lossy compression. It can suit text images and graphics, but a photographed page saved as PNG may be much larger than a JPG.
Converting HEIC to PNG cannot restore detail that the original photo never captured. Blurred letters stay blurred. The benefit is avoiding another lossy compression step during that export.
Which Format Fits Your Upload?
| Format | Useful For | Main Tradeoff |
|---|---|---|
| HEIC | Keeping efficient originals in your photo library | Some upload forms and apps cannot read it |
| JPG | Everyday photos, attachments, and size-limited uploads | Heavy compression can damage small text |
| PNG | Text images when lossless output is useful and accepted | Photographs can produce large files |
Convert an Existing HEIC Photo into an Uploadable File
Keep your original photo before starting. Export the converted version to a separate folder or give it a clear name, perhaps receipt-upload.jpg. This helps you select the right file later.
Use a Browser Converter
Open an image converter that explicitly accepts HEIC input. Select your original image, choose JPG or PNG as the output, and start the conversion. Download the finished file, then open it to check the result.
If a quality setting is available, begin with high quality. Leave the original dimensions intact unless the receiving website has a size or resolution limit. For receipts and forms, inspect small characters before reducing anything.
Check how the converter processes files. Some tools work on your device, while others upload images to a server. A browser interface alone does not tell you which method is used. Read the service’s processing and privacy information before submitting private material.
Export from a Mac
If you have a Mac, open the HEIC image in Preview. Choose File > Export, select JPEG or PNG, and save a new copy. Open that copy before attaching it to your form.
This route is useful when you already have the photo on your computer and want to use a local app. For a JPG export, inspect the quality setting and any available file size estimate.
Convert on Windows
On Windows, first check whether your installed image app opens the HEIC file. HEIC support depends on the app and the image components available on your computer.
If the image opens, look for Save As or Export and check for JPEG or PNG output. If it does not open, use a converter with explicit HEIC support. For workplace documents, choose a method permitted by your organization.
Renaming receipt.heic to receipt.jpg does not convert it. The contents remain HEIC, and the receiving app may still reject the file.
Turn Photographed Receipts and Notes into Editable Text
Once your image opens correctly, you may want the words inside it. Optical character recognition, usually shortened to OCR, attempts to turn visible text in an image into text you can copy, search, or edit.
Before using a photo to text tool, check its current supported formats and file size limits. Do not assume it accepts HEIC. If JPG or PNG is required, upload your converted copy. Check any language settings too, since choosing the appropriate language can help recognition.
Format conversion and text recognition solve different problems. Conversion makes the image readable by compatible software. OCR interprets the letters within that image. A successful conversion does not guarantee an accurate transcript.
Give Small Letters a Better Chance
Place the document on a flat surface with even lighting. Hold your phone parallel to the page. Tap the text to focus, and check that your hand or phone is not casting a shadow over it.
Glossy receipts can reflect a bright lamp directly into the camera. Change the light’s position or move the page until the glare disappears. Keep every edge of the document visible, especially when totals or dates sit near the bottom.
Before uploading, prepare the image with these checks:
- Rotate the page so the text reads upright.
- Crop away unnecessary background without cutting off characters.
- Zoom in to confirm that small print is sharp.
- Avoid filters that erase faint ink or fill in letter shapes.
- Photograph long documents in readable sections if one image makes the text too small.
Handwritten notes can be harder to recognize than printed text. Joined letters, crossed-out words, and crowded margins may produce errors. Test a representative page before processing a large collection.
Handle Private Information Before Uploading
Receipts may show names, addresses, purchase details, or partial payment information. Forms can contain signatures, identification numbers, or medical details. Review the entire image before sending it to any online service.
Check the service’s statements about storage, deletion, access, and processing. If those details are unclear, choose an approved local OCR tool for sensitive documents.
If information is unnecessary for extraction, remove it from a separate copy. Use a solid, opaque redaction and export the result. Reopen the exported file to confirm the hidden content is no longer visible. Keep the untouched original separately if you need it for your records.
Read the Extracted Text Before Using It
OCR can confuse a zero with the letter O or miss a decimal point in a total. Compare names, dates, prices, reference numbers, and bank details against the image.
A receipt transcript may also place prices beside the wrong items. A form’s columns may become a single stream of text. Review both the wording and its arrangement before pasting the result into another document.
Fix Upload Problems That Remain After Conversion
If your converted image still fails, check its actual format, file size, and dimensions. Make sure you selected the downloaded copy rather than the original HEIC file. Similar filenames can make that mistake easy.
For a file size limit, start by exporting a slightly smaller JPG. Reduce dimensions only as much as needed. Check the smallest relevant text again after each change.
A website may also require minimum dimensions, a particular shape, or a simple filename. Follow its stated requirements. A shorter filename containing letters and numbers can help if the form appears to struggle with special characters.
If colors look different after conversion, inspect the result in another image viewer. Export settings and color handling can affect appearance. For document work, readable text and a clear background matter most, but photographs may need closer inspection.
Set Your iPhone Up for Fewer Format Rejections
If you regularly send photos to systems that expect JPG, check Settings > Camera > Formats on your iPhone. Where available, Most Compatible makes ordinary new camera photos use JPEG. Certain capture features may have their own format requirements.
This setting affects future captures. It does not convert the HEIC images already in your library. Those still need an export or conversion when the receiving software cannot read them.
Keeping efficient originals and converting selected photos is also a reasonable routine. Your choice depends on how often compatibility causes trouble and how much storage your photo library uses.
Get the Photo Accepted and the Words Right
Start with the receiving tool’s requirements. Convert a copy to JPG for most uploads, or use PNG when it is accepted and suits the image. Open the result before sending it, and keep the original until the task is finished.
For photographed documents, give text extraction a clear, readable image and check the output against the source. A few careful checks can turn a rejected iPhone photo into a usable attachment, an editable note, or an accurate expense record.