
How to Convert iPhone HEIC Photos for Uploads and Text Translation
Fix rejected iPhone photo uploads by converting HEIC to JPG. Keep menus, signs, and documents sharp enough for readable text and better translation.
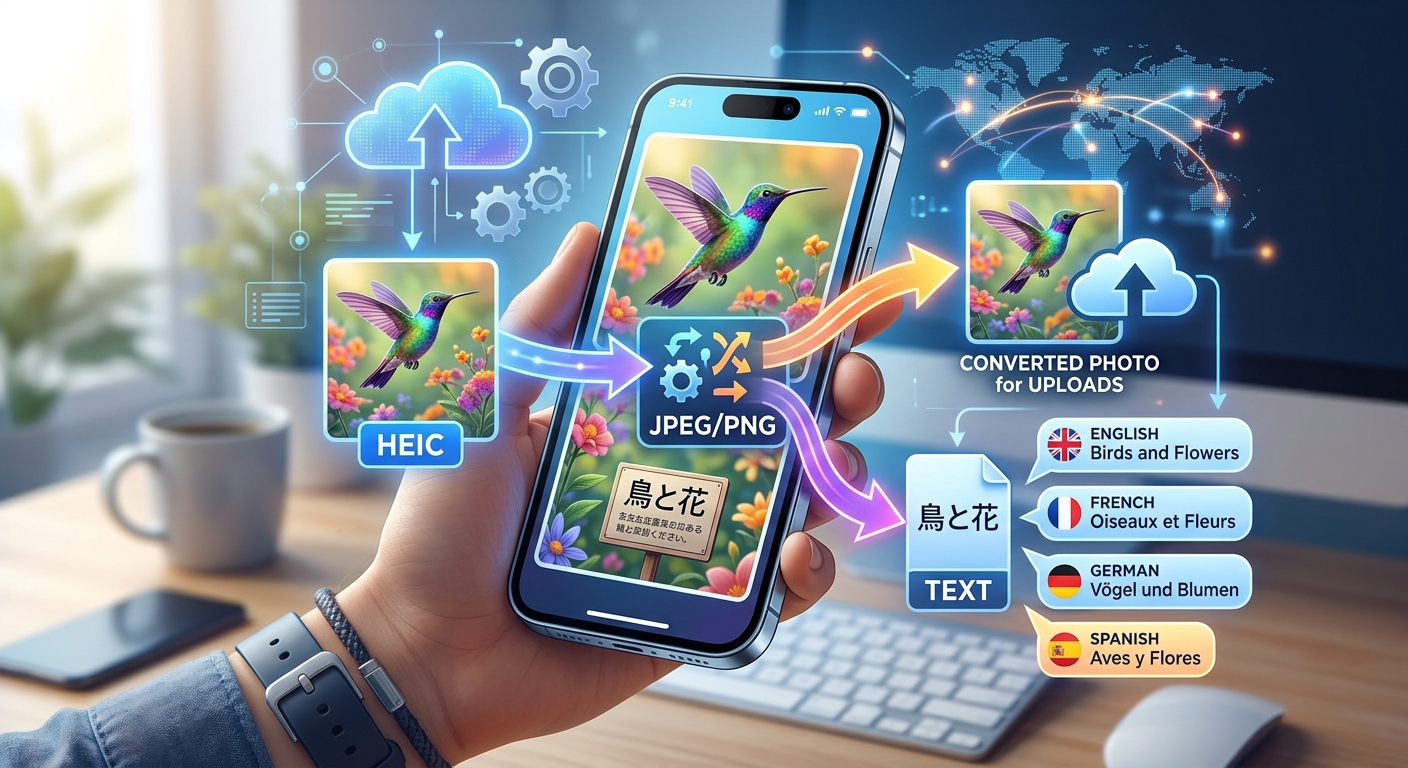
You finally get a clear photo of a restaurant menu, upload it for translation, and hit a “file not supported” message. The words look readable on your iPhone. The problem may be the file format. Converting that HEIC photo to JPG can get it through the upload step, but the conversion needs to preserve the small letters you want translated.
Three Steps to Readable Uploads
- Convert the original HEIC photo to JPG at its original dimensions.
- Check small letters for blur, glare, and missing edges before uploading.
- Keep the original file until the upload and translation are complete.
Why a Clear iPhone Photo Can Still Be Rejected
HEIC is a file format that iPhones can use to store photos efficiently. Your phone can display these files without making you think about the format. An upload form may accept a narrower set of formats, though. A tool that accepts JPG and PNG might reject HEIC before it even examines the photo.
JPG and JPEG refer to the same image format. Either extension may appear in an accepted file types message. Converting a HEIC file to JPG changes how the image is stored so a compatible tool can read it.
Changing the filename from “menu.heic” to “menu.jpg” does not perform that conversion. It only changes the label. The image data inside remains in its original format, which can leave you facing the same rejection.
A successful conversion also cannot repair every problem in the photo. Blurred lettering stays blurred. A bright reflection across a price may still hide the numbers. Think of conversion as the step that makes the file acceptable, followed by a visual check that makes it useful.
Start With the Original Photo and Check the Text
Use the original image from your photo library whenever possible. A copy saved from a messaging app may have fewer pixels or stronger compression. Those changes can leave large headings readable while turning small ingredients, dates, or footnotes into fuzzy shapes.
Open the photo and zoom in on its smallest useful text. Check accents, decimal points, and letters that look alike. A menu price of 8.50 needs both the digits and the decimal point to survive. A translated document may depend on a single date or reference number.
Look across the whole image. The center can be sharp while the corners are out of focus. A photographed page may also curve near its binding, stretching or hiding letters along one edge.
If you can retake the photo, face the surface directly and hold the phone steady. Tap the text to focus before taking the shot. Use even light and shift your position if a lamp reflects off a laminated menu. Move closer when practical instead of relying on digital zoom.
Convert the HEIC File Without Shrinking Its Text
Select the Original HEIC Image
Open your chosen image converter and select the photo from your device. If the file picker shows several versions, choose the original HEIC rather than a small preview or a screenshot. For several pages, keep the order clear so the converted images remain easy to identify.
Before submitting a document to an online service, check its privacy information. Look for an explanation of how files are processed, whether they are stored, and how deletion works. For sensitive records, use an approved local conversion method if the service’s handling of files does not meet your needs.
Choose JPG and Preserve the Dimensions
Select JPG or JPEG as the output format. If the converter offers resizing, keep the original pixel dimensions for the first attempt. Pixel dimensions describe the image’s width and height in pixels. Reducing them can remove the detail needed to distinguish small letters.
Choose a high quality setting if one is available. JPG uses lossy compression, which means it discards some image information to reduce file size. Heavy compression can create smudges or faint blocks around lettering. These defects are especially distracting on dark text against a pale background.
Quality sliders differ between converters. A setting labeled 90 in one tool may not produce the same result as 90 in another. Start near the high end, then judge the actual file rather than trusting the number alone.
Download and Inspect the Converted Copy
Save the JPG with a clear filename, then open the downloaded file itself. Do not rely only on the converter’s preview. Zoom in and compare a few small words with the original photo.
Check that the image is upright, the page edges are present, and the text has enough contrast. Inspect punctuation and numbers as closely as letters. If the result looks noticeably worse, return to the original HEIC and convert again with less compression or without resizing.
Prepare the Converted Image for Text Translation
Once the JPG opens correctly, give the translation tool a clean view of the writing. Many image translation tools first use optical character recognition, or OCR, to turn photographed letters into machine-readable text. Translation depends partly on how accurately that text is read.
For a practical reference before your next upload, use this guide to photo translation while checking the image’s clarity and framing. A readable source photo gives you a stronger starting point than repeated attempts with a blurred copy.
Crop away distracting surroundings when they serve no purpose. A menu photographed on a crowded table may include receipts, packaging, or other writing. A tighter crop can help keep attention on the intended text. Leave a small margin around the content so letters at the edges remain intact.
Keep connected text together. Cutting a heading away from its paragraph can remove useful context. For a restaurant menu, preserve the dish name, description, and price in the same image whenever you need to understand their relationship.
If a full page contains tiny print, take separate close photos of its sections. Each section should be readable on its own. Include a little overlap between shots so you can follow the order and spot any missing lines.
Reduce File Size Only When the Upload Requires It
A JPG can still be rejected if it exceeds an upload limit. Read the error message before making further changes. An unsupported format, an oversized file, and a failed connection call for different fixes.
If size is the issue, begin by cropping empty space. A large area of blank wall or tabletop takes up room without helping the translation. After cropping, save the image and check whether it meets the limit.
If more reduction is needed, lower JPG quality gradually while keeping the dimensions unchanged. Inspect the smallest text after each attempt. Stop reducing quality when punctuation or thin letter strokes start to break apart.
Resizing may be necessary for a very large image, but do it carefully. A street sign with a few large words can tolerate more reduction than a document packed with small print. There is no single image width that suits every text photo.
Make each new version from the original HEIC or a preserved high quality master. Repeatedly opening and saving a JPG can add compression damage. Keep clear filenames so you know which copy has passed your readability check.
Choose the Right Approach for Menus, Signs, and Documents
Keep Menu Details Together
Menus often combine decorative headings with small descriptions. Focus on the smaller writing because it may contain ingredients or preparation details. Watch for reflections from glossy covers and laminated pages.
A two-page spread may need two photos. Trying to fit everything into one frame can make the text too small. Photograph each page squarely, then convert each original at full size.
Give Signs Enough Space in the Frame
For signs, move closer when it is safe and practical. A distant sign may occupy only a small part of a large photo. Converting the file preserves the available detail, but it does not create letters the camera failed to capture.
Keep arrows and nearby labels visible if they explain the message. Translating the words on a directional sign is less useful when the crop removes the direction they refer to.
Keep Document Edges and Reading Order Clear
Place loose pages flat and photograph them from directly above. Keep your shadow off the paper. Check that every line is visible, including headers, signatures, and text near the bottom edge.
For several pages, use filenames that preserve their sequence. A readable conversion helps little if page three is uploaded before page two. Review the translation against the image whenever names, dates, amounts, or reference numbers matter.
Fix a JPG That Still Will Not Upload
Confirm that you are selecting the newly downloaded JPG. It is easy to choose the original HEIC again when both files appear next to each other. Check the file extension and, where available, the file information.
Read the uploader’s requirements for both file size and dimensions. A tool may reject an image that is too large, too small, or damaged even when its format is accepted.
If the JPG does not open normally on your device, convert the original again and download a fresh copy. If it opens correctly but the upload still fails, try selecting the saved file through the uploader’s file picker. Keep any displayed error message so you can identify the remaining issue.
Keep the Letters Clear From Camera to Upload
The most reliable path is straightforward: start with a sharp original, convert it to JPG without unnecessary resizing, and inspect the saved result before uploading. Treat small text as the quality test. If you can barely read it, the translation tool may struggle too.
Keep the HEIC original until the job is finished. It gives you a fresh starting point if you need a different crop or a larger copy. With the file accepted and the lettering intact, you can focus on understanding the menu, sign, or document you photographed.