
Taking Converted HEIC Photos Into AI Editing and Generation Tools
You converted your HEIC photo, now what? Three practical AI-powered next steps that turn a simple format change into a full creative workflow.
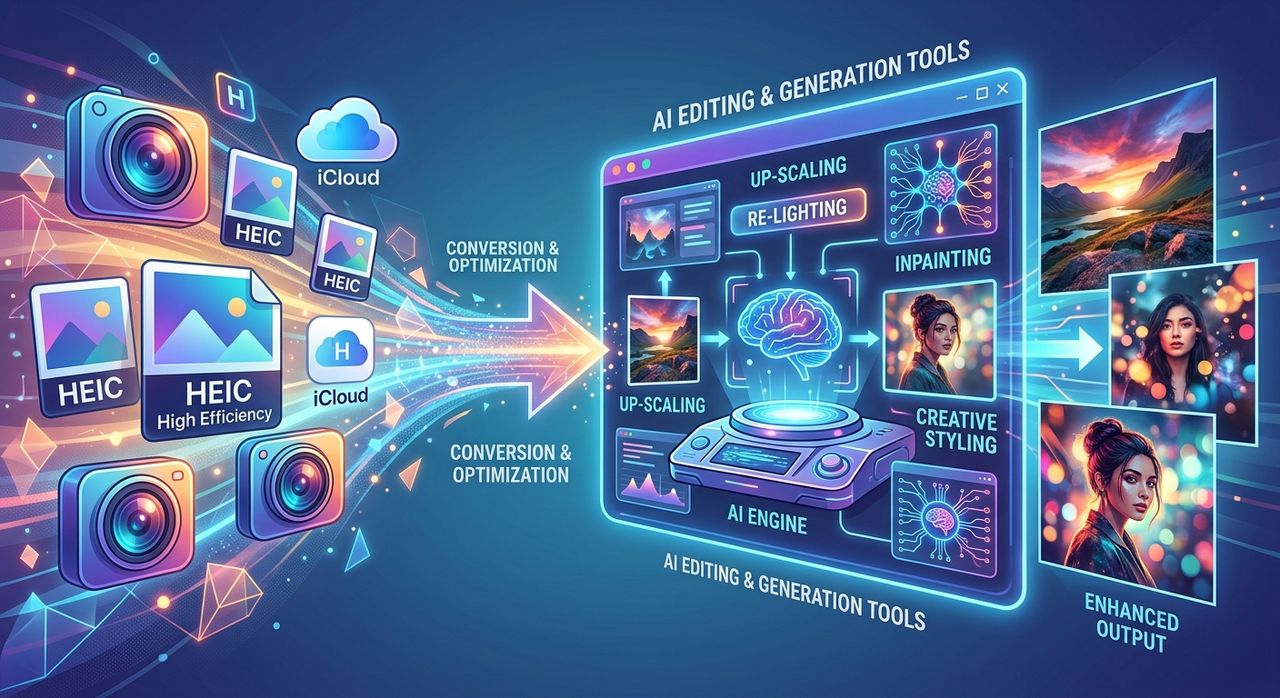
You just converted an iPhone photo from HEIC to JPG. That part was straightforward. But here is something most people never think about: conversion is not the finish line. It is the starting point for something far more interesting. Most iPhone users stop right there, drop the JPG into a folder, and move on. The photo sits untouched, never remixed, never sharpened for a print, never stripped of its cluttered background for a clean product shot. That is the gap this piece is about.
Three Things to Do After HEIC Conversion:
1. Feed your converted JPG into an AI image generator to create fresh visual variations inspired by your original photo.
2. Run compressed exports through an AI upscaler before printing or posting so you never sacrifice resolution.
3. Use background removal to isolate subjects for product shots, social cards, or profile photos.
The Format Gap Nobody Talks About
High Efficiency Image File Format, or HEIF, is the container Apple uses for iPhone photos. It packs impressive image quality into a smaller file size. When you convert that HEIC file to JPG, you end up with a universally compatible image. That is the point.
But JPG is just a format. What you do with the image after conversion is a completely separate question, and most people never ask it. They treat the workflow as done once the file extension changes.
The truth is that a freshly converted JPG is ready material. Modern AI tools can take that image somewhere completely new. Whether you want to create something from it, scale it up without blurring edges, or clip out a distracting background, the hard part, getting a compatible file in the first place, is already behind you.
Step 1: Generate New Visual Variations From Your Photo
This is where things get genuinely interesting. You have a real photo, converted and ready. Now imagine feeding it into an AI tool and watching it produce stylized versions, alternative compositions, or entirely new images inspired by what you originally shot.
That is what an image generator lets you do. You upload your converted JPG, describe what you want, and the AI produces new images that take your original as a creative springboard. It is useful for social content, concept mockups, or just experimenting with a photo you really like.
A few practical use cases where this pays off:
- You photographed a product on a cluttered table and want the AI to generate cleaner, stylized versions of the same scene.
- You shot a landscape and want to see it rendered in a painterly or graphic style without reshooting.
- You captured a portrait and want to explore different backgrounds or lighting moods.
The converted JPG is exactly what these tools need. HEIC files are frequently rejected or poorly supported by AI platforms. After conversion, compatibility is no longer an obstacle.
Step 2: Enlarge Compressed Exports Without Losing Detail
Here is a problem JPG users run into constantly. When you convert from HEIC, some quality is lost depending on the compression settings. Then, when you go to print that photo or upload it to a platform that requires a larger file, the image looks soft or pixelated.
Traditional upscaling just stretches pixels. AI upscaling is different. It reconstructs missing detail using pattern recognition trained on millions of images. The result is a larger file that looks genuinely sharp, not just bigger.
Running your converted photo through an image upscaler before sending it to a printer or posting to a high-resolution display makes a real difference. This is especially true for older photos you might be re-exporting from your camera roll.
Here is when AI upscaling matters most in a post-conversion workflow:
- You are printing at A3 or larger and the converted JPG is only 2 to 3 megabytes.
- You are submitting an image to a site that requires a minimum resolution and your conversion settings produced a smaller file.
- You cropped the photo during conversion and lost resolution in the process.
- You want to zoom into a specific detail, such as a face in a group shot, without losing sharpness.
- You are preparing images for a presentation or pitch deck where clarity matters on a large screen.
The upscaler works directly on the JPG you just produced. No additional format conversion needed. You finish the upscale, download the result, and it is ready.
Step 3: Isolate Your Subject for Clean Shots
Backgrounds are the most common problem in iPhone photography. You shoot something fast, the lighting is decent, the subject looks good, but behind them is a wall outlet, a pile of laundry, or a crowd of strangers. The background undermines the whole image.
Background removal used to require Photoshop skills and patience. Now it takes seconds. A solid background remover uses AI to detect the edges of your subject and strip everything behind them, leaving a clean transparent PNG or solid-color cutout ready for whatever you need next. This matters a lot if you are using product photos from your iPhone to sell items online, building social media content where you want to drop a person or object onto a branded background, or creating profile pictures and thumbnails without hiring a photographer.
A plain white or transparent background reads as professional regardless of where you actually took the shot. The converted JPG feeds straight into the background remover, and the AI handles edge detection even around hair or complex outlines.
Which Tool for Which Job: A Post-Conversion Cheat Sheet
| Goal | Tool to Use | Best For |
|---|---|---|
| Create new visual styles from a photo | AI Image Generator | Content creation, social posts, concept art |
| Print or post at a larger size | AI Image Upscaler | Printing, high-res uploads, cropped shots |
| Remove background from a subject | AI Background Remover | Product shots, profile photos, marketing assets |
Why the Conversion Step Is the Foundation
There is a reason HEIC was designed with efficiency in mind. Research on image compression shows that modern formats like HEIF use advanced algorithms that maintain visual quality at roughly half the file size of JPEG. Apple adopted it precisely because iPhone storage is finite and photo quality expectations keep rising.
But that efficiency comes with a compatibility cost. HEIC files are not universally readable. Windows, most web platforms, and virtually every AI tool you might want to use will either reject the file or produce unexpected results. Converting first is not optional. It is the prerequisite for everything else in this article.
The conversion step removes the friction. What comes after is up to you.
From Converted File to Finished Creative Asset
The photos sitting in your iPhone camera roll are not just memories. They are raw material. You have already done the conversion. The JPG is in your folder. The next steps do not require expensive software or design experience.
Think of it this way: three tools, three different outcomes, all starting from the same converted file.
You can generate something new from your photo. You can scale it up for a use case it was never originally sized for. You can strip it down to just the subject and rebuild the context around it. None of these steps are complicated. They are just steps most people skip because they assume the workflow ended when the format changed.
It did not. That is where it actually begins.